


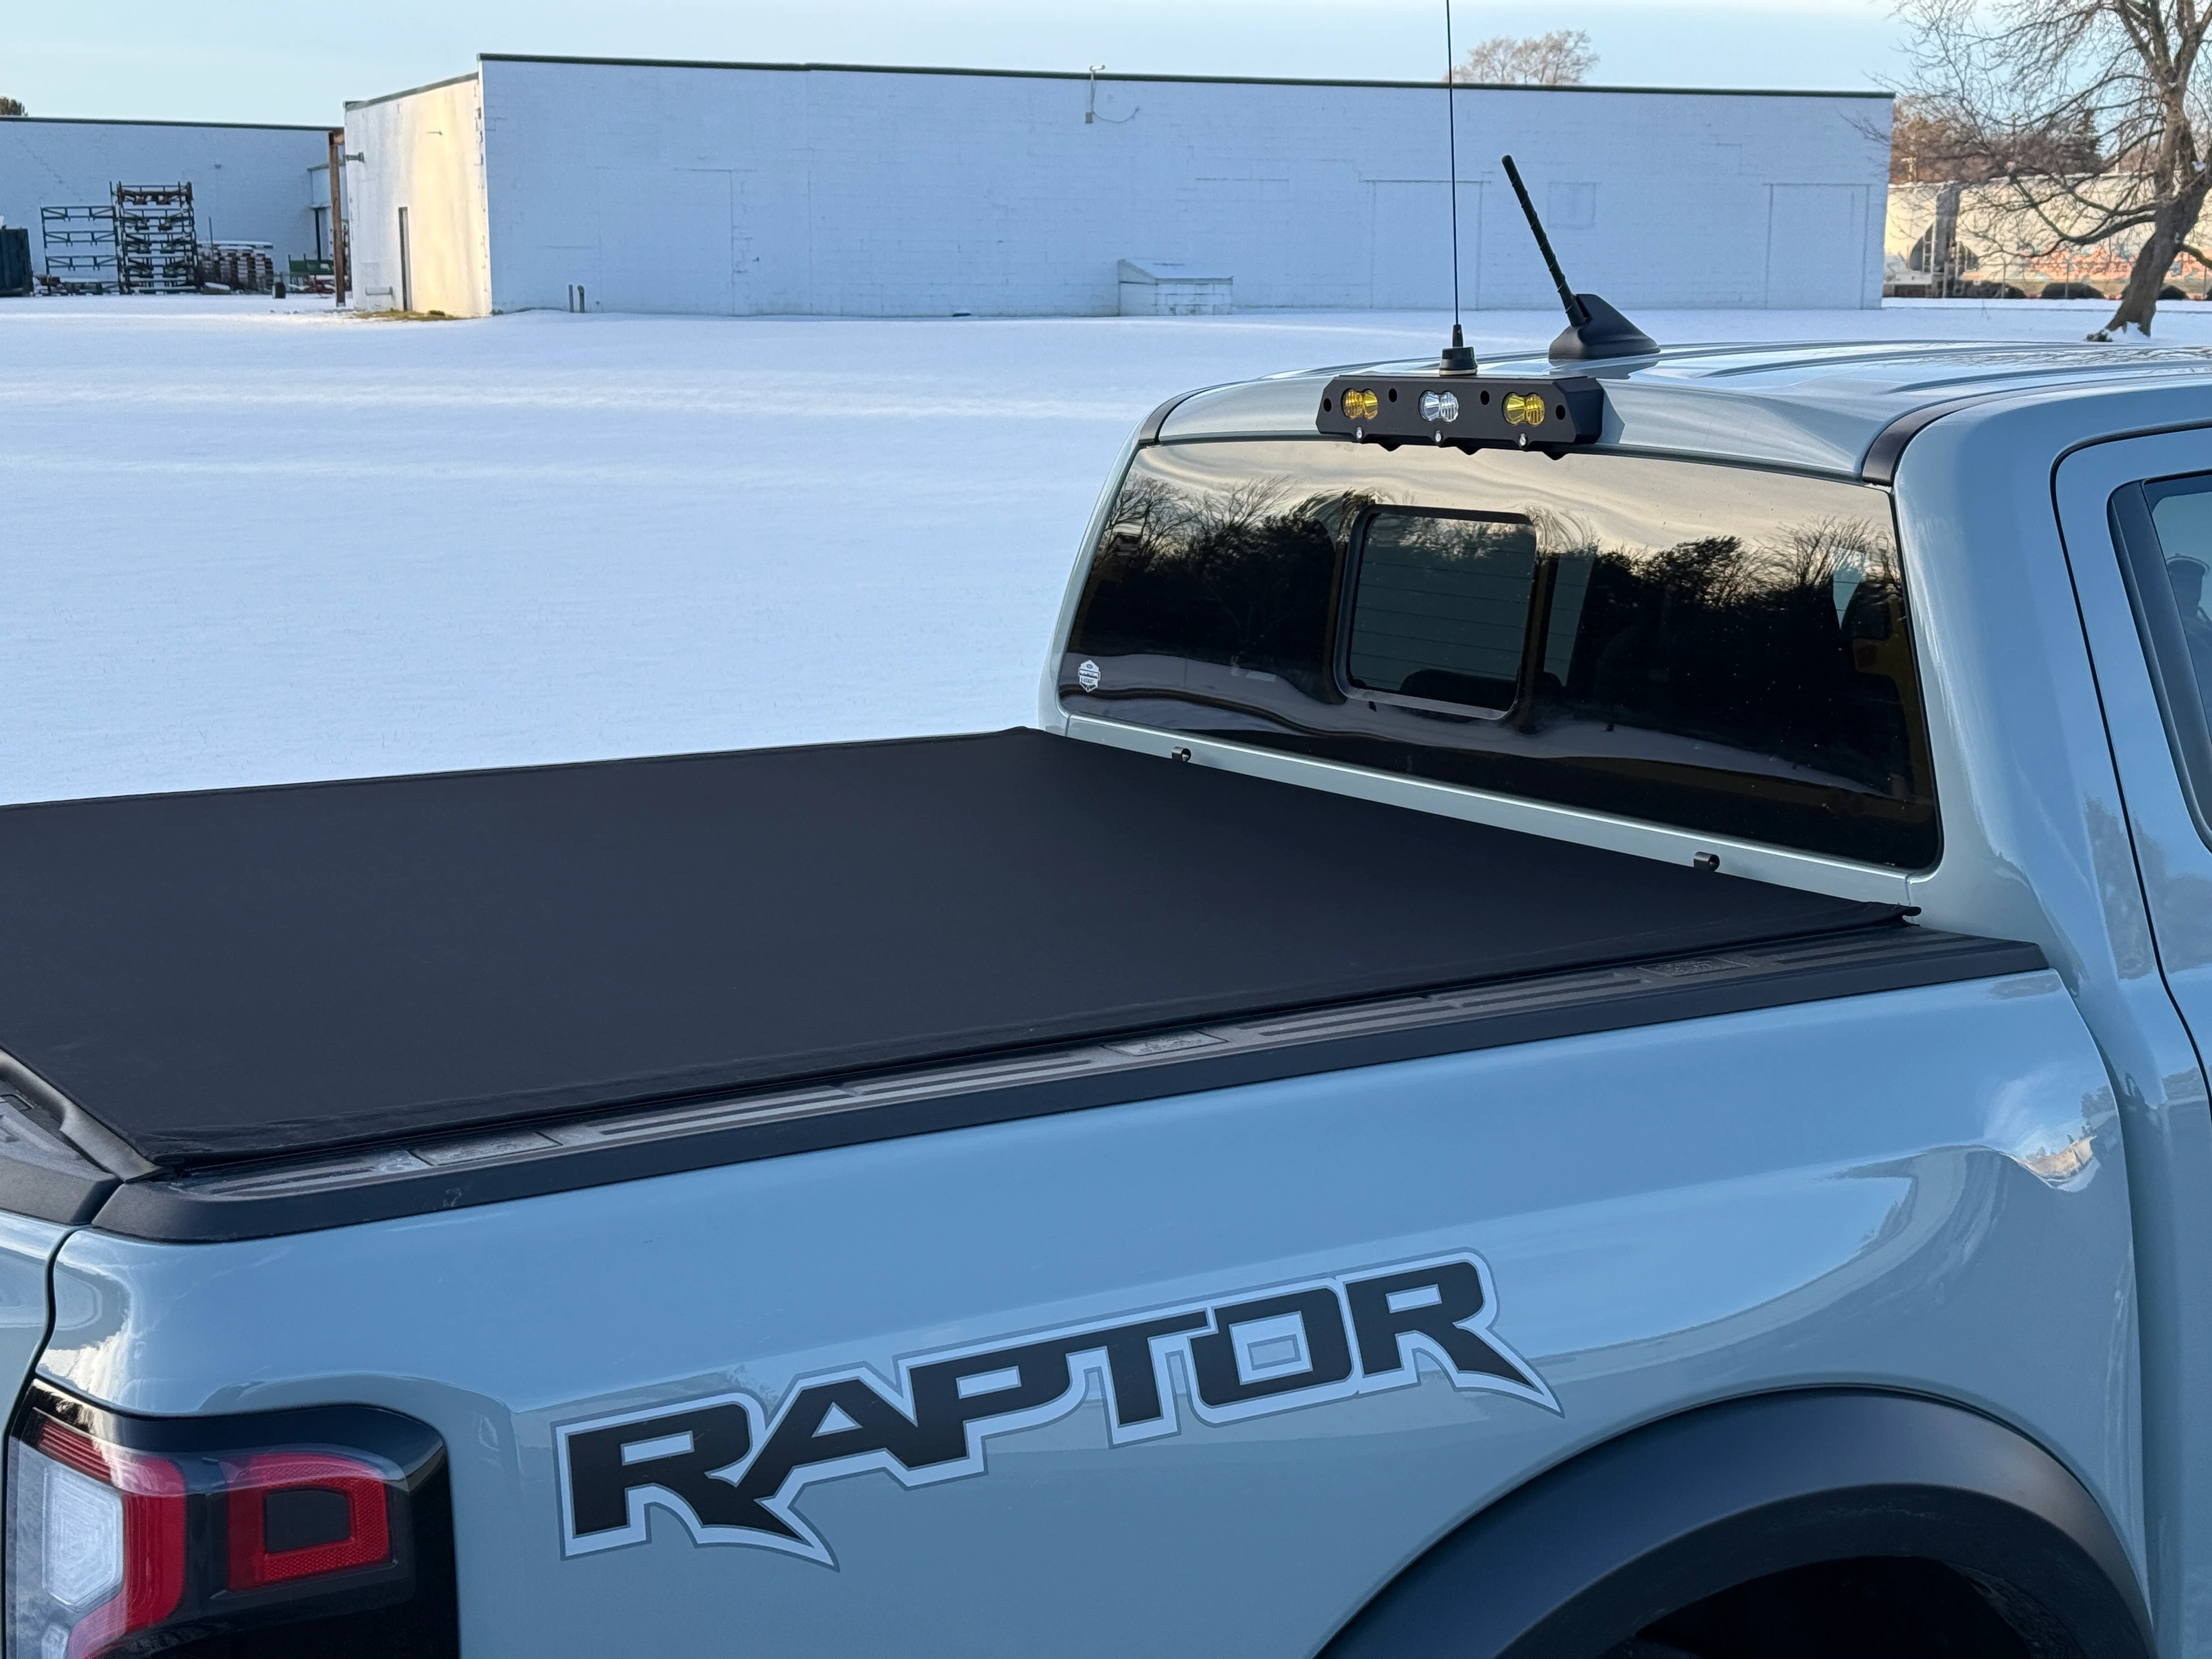
 shown with optional Starlink mount")


Currently these are on back order due to back ordered LED's for the brake/running lights until September 15th.
***V2 Updates*** Read below or watch this video
- Surface Matched Fit - Profile CNC machined back to perfectly match and seal the cab using 3d scans. Takes 25% more time to machine, but seals way more than 25% better!
- Invisible S2 light hardware - 12 less visible screw heads. S2 lights are secured from the internal side of the housing. **Patent Pending**
- 11mm, 3 watt (up from 1w and 6mm) red running/brake lights. 3x more power and easily replaceable.
- Plug 'n Play with factory wiring harness - New integrated circuit board plugs into the factory brake light harness for the 3 red running (clearance) and brake lights.
- New simple and strong mounting system - 3/16" aluminum threaded "backer plates" instead of factory plastic nuts or the dreaded sheet metal panel nuts. Super easy, super secure, and easy to return to 100% stock!
- Updated "edgier" design with 45 degree chamfers and corners instead of radiuses.
- Matte fine textured black outdoor powder-coating instead of gloss black - Looks a bit more finished.
- OEM cargo camera mounting - Reuses the factory camera and camera retainer that works perfect.
- NMO cable wires - NMO antennna equipped housings now have a short cable with a standard PL-259 connector, and then uses a standard extension cable to reach your VHF/UHF radio head. This allows you to disconnect and remove the brake light housing at the cab instead of pulling all of the cable out of the cab. Also allows for easily replacing the cable if it were to get damaged. Also allows for a more custom fit length. 8' works good for radio heads mounted behind (or under) the back seat. 12' works good for radios mounted in the center console or under the passenger seat.
- All new and freaking amazing mounting system. No more dumb clips! See the YouTube video for the best explanation.
Antenna Mount
- GJ Cap
- Browning BR-158-S 150-170 MHz VHF NMO Antenna
- Larsen Plastic Rain Cap for NMO Antenna - Black
Wiring Harness Options
All wiring harnesses are cut to length and pre-terminated with weatherpack connectors and wrapped in soft loom for easy installation in your truck. The factory integration for the marker lights and cargo light uses the factory connector and does not require any cutting or soldering.
Basic Harness
This harness provides integration of the 3 marker/brake light LED's with factory wiring harness as well as connecting the center light to the cargo light circuit. Two additional circuits are provided to connect the outer lights to the factory upfitter switches in the passenger kick panel.
Reverse Light Harness
This harness has all the features of the basic harness, but also connects the center light to the brake light circuit so that it comes on automatically when the truck is placed in reverse.
Stop/Tail/Turn Harness
This harness includes a stop/tail/turn controller to integrate the outer to lights with the factory brake/turn signals. It includes inputs for connecting to your aux switches for:
- Master power to turn the system on/off
- Strobe Function
- Strobe pattern change (momentary switch to be optionally mounted in the dash)
- Constant on override to disable the turn/brake integration
Stop/Tail/Turn Harness with Reverse
This harness has all the features of the Stop/Tail/Turn harness, but also connects the center light to the brake light circuit so that it comes on automatically when the truck is placed in reverse.
Y Splitter - 2 Way
*Update*
- This isn't really needed as you can just connect two wires to one upfitter switch. Makes for a cleaner install and doesn't cost any extra.
This allows you to connect two lights to the same aux switch with a pre-terminated Y cable. This cable is terminated with weatherpack connectors and is plug and play.
Installation Instructions
FAQ's:
- What S2 lights should I run? Pro's or Sports? Spot or wide lenses?
- This is really a personal preference. S2 Pro's are twice the brightness, but about twice the price. If you're running the center light as a white reverse or cargo light, a Sport wide angle or work/scene works great. Go with an S2 Pro for extra punch! For amber (chase/dust) lights, spot lenses can be seen from a long ways away. But if someone is close behind you and there isn't dust or snow, they can be very bright (aka annoying lol). A driving combo works great because one half of the S2 is spot, and the other is a wide angle. S2 Pro's again provide an insane amount of light. S2 Sports are no slouch though. You really can't go wrong. And since Baja Designs rocks, they almost encourage you to take their lights apart. So don't feel locked to a lens. So if you go with an S2 Pro Spot, and it's too bright, just swap to a wide cornering lens.
- If I want to add a Starlink mount at a later date, is that possible? If so, what does it take to do?
- Yes! There are two options. If you have some about of technical skill, and know how to drill and tap, you can do it yourself. Just purchase the Starlink mount and clamp it to the light housing and use as a drill template. Other option is to take the light off and send it to us. We'll throw it on the CNC and drill, tap, and install it for you.
- If I select NMO antenna mount and Starlink Mini mount option, does it come with dual NMO antenna mounts?
- Yes. It sould have the dual antenna mount. We either make the Starlink Mini mount with no antenna mounts, or dual antenna mounts. We also don't make a dual antenna mount brake light if you don't get the Starlink Mini mount.
- What do I connect the Starlink power to?
- Usually most people connect it to an upfitter switch. It only "pulls" about 2 amps, so any one of the switches would work.
- What LVJ harness do I need?
- Good question. Really depends on what you'd like to do.
- The basic harness allows you to turn on and off 2 lights (it's common to run the outer two with amber lenses as dust lights on a switch). Then the other light connects to the cargo light circuit.
- The "+Reverse" has the same functionality as the basic, plus it has a diode with an extra wire that runs to the passenger footwell are to connect to the reverse circuit at the BCM. This is generally connected to a white (usually center) S2. ALSO, instead of connecting to the reverse circuit, you can connect that wire to another upfitter switch.
- The "+Aux" has all the functionality of the +Reverse, plus another diode so you can connect it that center light to a switch. So that light would essentially come on with the cargo light circuit, when in reverse, and also with a switch.
- The STT, or Stop, Tail, Turn does, well, lots. LVJ says "Brake light harness from the cab interior to the 3rd brake light, This kit provides four wires, Circuit One ( Yellow), Circuit Two (Blue), Circuit Three ( White for Reverse), Ground (Black) . This kit includes a diode to allow the reverse to turn on the cargo light if your aftermarket third brake is so equipped. This kit includes a flash controller that will will strobe, show solid ambers and work in conjunction with your brake and turn signals. Recommend that 3 switches be used. Minimum 2 switch option is available with how you your it and use the unit."
- Good question. Really depends on what you'd like to do.
- Which length antenna cable do I need?
- We'd recommend the 8' one if you mount your radio under (or behind) the rear seat. Select the 16' one if you mount it in the center console or under the drivers seat.
- The LED brake/tail lights stay lit (but very dim) after the truck is off. Is that normal?
- Yes, the little led's stay on (but very dim) for several minutes after the truck (and headlights) are off. That is normal as the truck sends out a slight amount of current to check that the lights are still connected. Generally you don't see it on most of the lights, but these take very little power to turn on dim, that they actually light up. They'll eventually go off when the truck goes to "sleep".


